For many of us, “becoming a more organized person” is a perpetual goal always in the back of our minds. Sort of like “exercise more,” “eat better,” and “call mom more”. You may look at the organized people in your life and think they’ve achieved this Herculean stage – but becoming organized isn’t out of reach, and even the best amongst us have room for improvement.
And you don’t need absolutely spotless rooms or color-coded everything to have an organized life. Ultimately, being organized means having a few simple systems and good habits that make the next right action obvious. And, as your organization skills grow, that next right move gets clearer and clearer.
So, what does it mean to stay organized?
It means you’ve built clear rhythms for every part of life:
- Where things go in your environment
- When tasks get done on your calendar
- How you store and find information
- How work reliably moves from idea to finish
The four pillars of organization
Before we start rearranging drawers and time-blocking Tuesdays, it helps to zoom out. Constructing an organized life is a lot like constructing a house. This particular house has four load-bearing beams. These beams, or the “four pillars of organization,” are:
- Space – your physical environment and the cues it gives you
- Time – how you plan your days and protect your attention
- Information – where tasks, notes, and files live (and how you find them)
- Workflow – how work shows up, moves forward, and gets finished
Getting organized is obviously a broad project involving so many different things, it can feel difficult to start. But essentially everything you need to organize falls into one of the above four pillars.
This is the framework we’ve used to organize (excuse the pun) the organizational tips in our article here. Let’s get your pillars sturdy so everything in your life can feel lighter: your rooms, your calendar, your files, your workday.
24 tips for getting organized
Tips 1-6: how to organize your space 🏠
How do you feel starting your day with yesterday’s dishes overflowing up in the sink, a pile of half-sorted mail scattered across your counter, and your work notebook buried somewhere in the living room? Each of these little cues are quietly tugging at your attention, whispering reminders of tasks unfinished and plans half-forgotten.
To become more organized, you should start with your environment. Your physical spaces shape how you feel and act everywhere else. Calm spaces quiet the mind, reduce stress, and set the stage for smoother days. And when your environment does some of the organizing for you, the rest of life feels more approachable.
Learn more about organizing your space below 👇
1. Start with a 30-minute hot-spot sweep
First and foremost, your most-seen surfaces drive the feeling of order at home. When the spots you see all day (your entry, kitchen counter, and desk) are cluttered, your brain is screaming “unfinished business” on repeat. Dense household “stuff” and its associated visible cues are linked to higher day-to-day stress, especially for parents. So, clearing the most-seen surfaces first lowers that signal fast.
2. Assign every item a home
What is ‘clutter’ really? Well, in our view, it’s mostly just stuff without a clear home. And when something doesn’t have a home, putting it away becomes a decision every single time. As such, it lingers on the counter, the couch, or the floor. The fix is simple: give things an address (put them in the same place) so putting them away feels like muscle memory, not a decision.
Research shows that people in orderly spaces make better decisions and even act more generously compared to those in disorder. Clear “homes” are tiny environmental cues that keep life moving smoothly, without you having to remind yourself what belongs where.
3. Label zones, not just containers
If everyone has to remember where things go, stuff will inevitably drift. But a nice label turns “where does this go again?” into shared, glanceable instructions. Research shows we naturally offload details to reliable external stores (we remember where to find info more than the info itself). So, your space can serve the same purpose in regard to where all your things go.
Keep them simple and consistent. Plain words, high-contrast text, and the same style across spaces (if you prefer a cleaner look, place labels discreetly on the inside lip of drawers or cabinets). Your future self (and everyone else in the house) should never have to ask, “Where does this go again?” The label already answered it.
4. Create friction-free storage
Clutter accumulates in spots where putting things away takes too many steps. Your brain is a master of the path of least resistance. If a lid needs to come off, a drawer has to be fished open, or a bin sits across the room, your brain will vote “eh, later.” The solution is to design your space so the right action is one motion, and watch stuff start landing where it belongs.
If you can put it away with one hand (coffee in the other), you nailed it. When storage feels this easy, the tidy state tends to maintain itself.
5. Use the 80/20 space rule
Stuff expands to fill every inch you give it. And then, of course, it spills over. The 80/20 space rule keeps storage breathable: about 80% full, 20% open. Leave about 20% breathing room in drawers, shelves, and closets so your systems don’t burst the minute life gets busy. That little margin absorbs the ebb and flow of daily life while keeping spaces calm and usable.
Less visual noise = feeling less stressed. As we mentioned earlier, visual clutter taxes your attention, which is why “open space” feels calmer and easier to keep.
6. Reset on Sunday
Even the best systems drift after a busy week. A light reset on Sunday keeps disorder from snowballing and gives your upcoming week a calmer launch. After all, you don’t want to start your Monday morning with leftover baggage.
Research on routines shows that small, consistent resets create more lasting order than sporadic overhauls. A 20-minute sweep done every week beats a four-hour clean you dread and delay.
Tips 7-12: how to organize your time ⏰
What’s your average weekday look like? Maybe you wake up with the best intentions: finish that overdue report, schedule a doctor's appointment, squeeze in some exercise. Then Slack notifications start rolling in, meetings pile up, and before you know it, the day feels like it belongs to everyone but you. We tend to think the problem is a lack of discipline, but it's usually something simpler: our time management systems (or lack thereof) aren't organized all that well.
Now, to be clear, we don’t mean cramming ever more things into your days. Your time, like your attention, has limits. Getting organized with your time ultimately means being intentional. After all, how you spend your days is how you spend your life.
Learn more about organizing your time below 👇
7. Start your day with the calendar
The way you start your day often decides how it unfolds. If the first thing you open is your inbox or chat app, the agenda quickly shifts to everyone else’s priorities. Starting with your calendar flips that script. You see the shape of your day before the world starts tugging at it.
This small shift in your daily routine builds a protective buffer around your focus. It’s a guardrail against reactive spirals and a way to defend attention before the noise begins.
8. Run a weekly review
Small routines stick when they’re tied to consistent cues. One calm checkpoint each week is all that’s necessary to keep the chaos from sneaking up on you. Think 15–45 minutes to look ahead, right-size your commitments, and give your best work a reserved seat on the calendar.
9. Use time-blocking (manual or AI-scheduled)
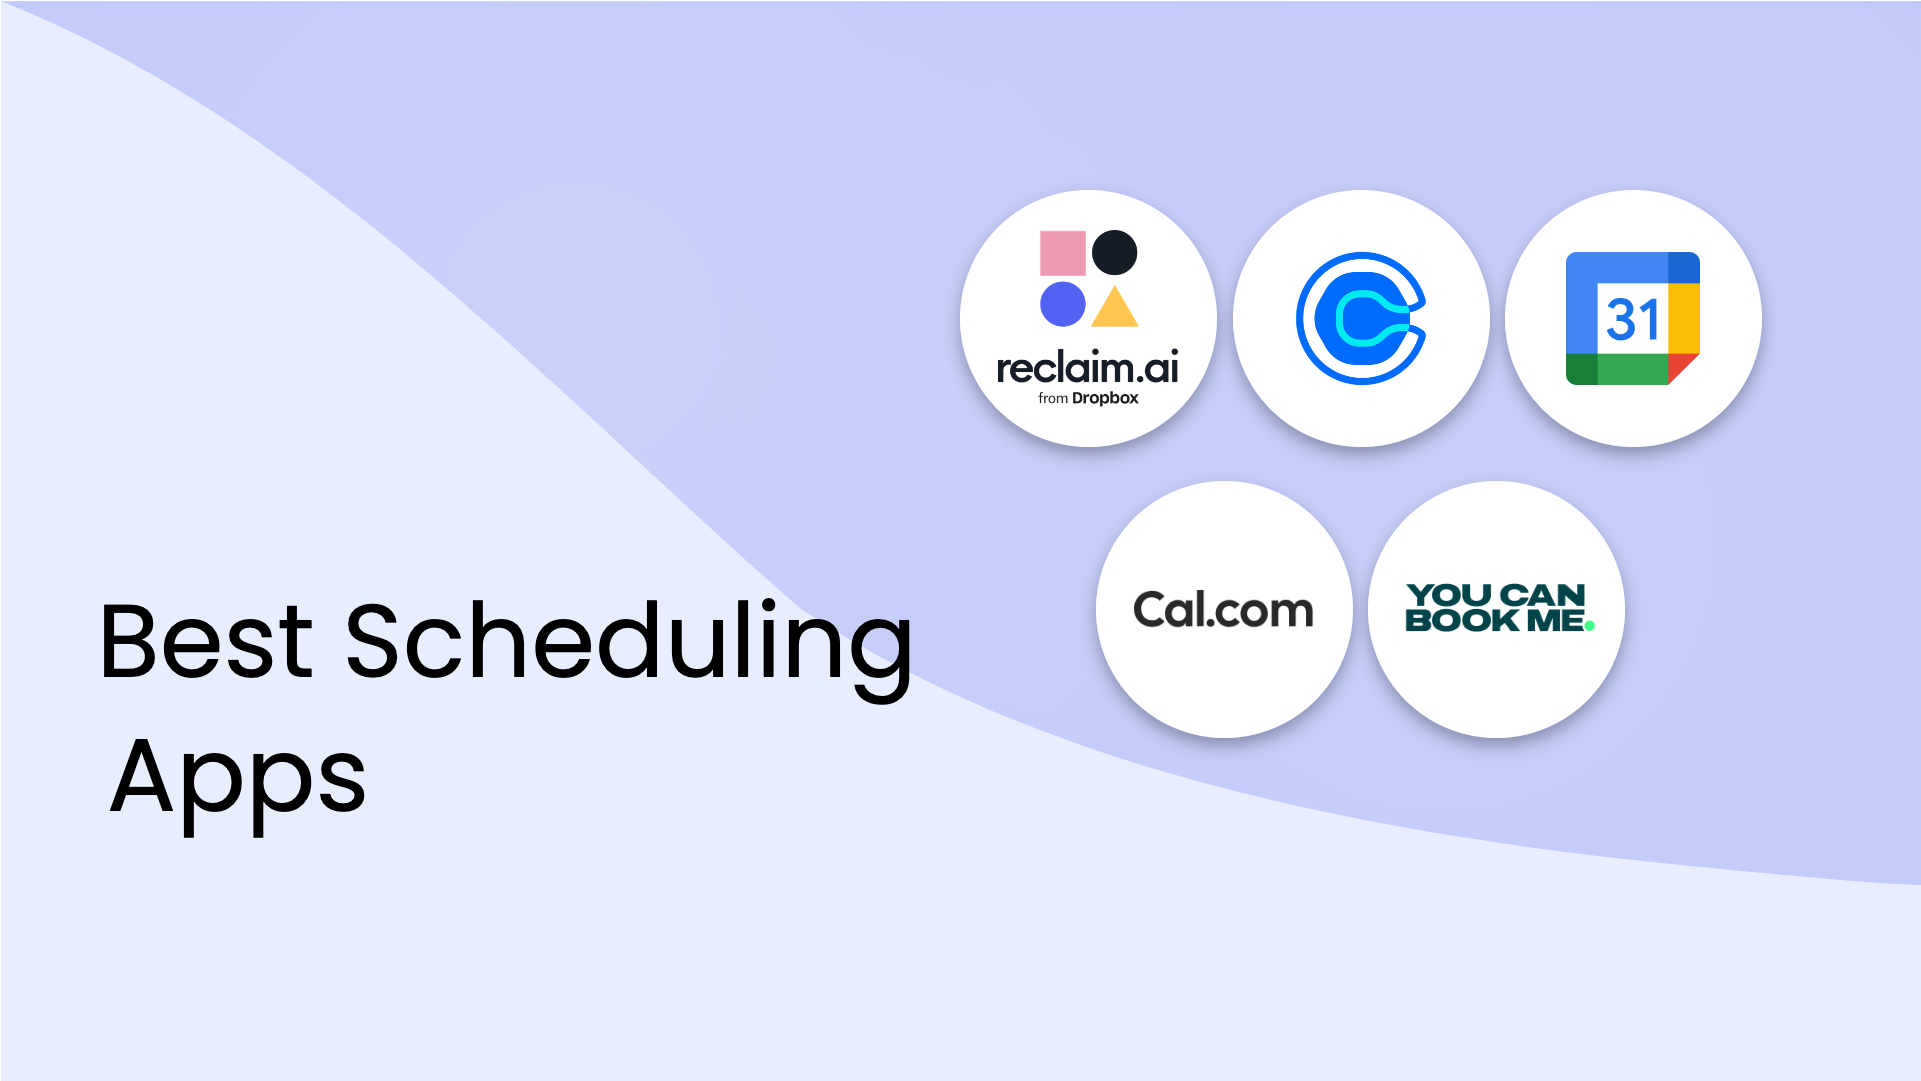
Using a to-do list is a great way to capture ideas – but your calendar determines if the important stuff actually gets done. So, if you want to be more organized with your time, get your top to dos into your calendar. AKA, time blocking. You can even use free AI calendar tools (like Reclaim.ai) to sync your task list and automatically protect time for your tasks around your other calendar events – while keeping you flexible and autorescheduling when conflicts come in.
People who plan out their time and prioritize tasks with time blocking are 80% more productive on average. Time blocking your calendar naturally helps you stay focused on one thing at a time, while also protecting your attention from distractions and context switching. And if you protect time for deep work (2+ hours of uninterrupted heads-down time), you can actually be up to 500% more productive by getting into a focused flow state.
10. Adopt a 1–3 daily priority rule
Oftentimes, our days might fly off the rails simply because we’re trying to do too much with our time. After all, it’s difficult to focus with a crowded to-do list hovering over you. A simple fix is the 1–3 priority rule: one must-do, plus up to two supporting tasks. That’s it. Narrowing the field makes your day achievable, and finishing the “big one” gives you a clear sense of progress, no matter what else happens.
Psychologists call this “goal shielding”: when you commit to fewer goals, you’re more likely to protect and complete them.
11. Use micro-timers to start fast
Sometimes the hardest part is just getting started. So lower the bar: set a quick timer (2, 5, or 10 minutes) and commit to doing only that much. Clean one countertop, answer three emails, file a handful of photos, or just open your draft and write a messy first paragraph. When the buzzer goes off, you're already moving, so you can easily reset and keep going.
One meta-analysis found that short micro-breaks (under 10 minutes) consistently reduce fatigue and boost energy. Pairing quick bursts of focused work with intentional mini-resets helps you maintain your attention and productivity throughout the day. Timers simply lower the barrier to entry (which can help you feel less stressed about starting), and the short break afterward helps sustain your focus.
12. When overwhelmed, use the Eisenhower Matrix
When everything feels urgent, nothing actually important gets done. The Eisenhower Matrix is a great way to perform a quick visual triage: see what’s both important and urgent, what’s important but not urgent, what’s urgent but not important, and what’s neither. Take two minutes and quickly sort your to-do list into one of the four quadrants:
- Important & Urgent
- Important & Not Urgent
- Not Important but Urgent
- Not Important & Not Urgent
Important tasks (urgent or not) belong on your calendar, protected by real blocks. Urgent but unimportant work can often be batched, delegated, or declined. And that noisy bottom-right box (neither urgent nor important) is usually just busy work that can disappear without consequence.
Want to try it out? Feel free to organize your tasks in our template below:
Tips 13-16: how to organize your information 🗂️
You're at your desk deep into a project, when suddenly you need a file you created weeks ago. You pause. Did you save it to your desktop, a folder, or was it attached to some half-remembered email thread? That tiny moment of uncertainty might feel trivial, but multiplied across your day, it becomes a source of frustration and lost momentum.
When it comes to organizing information, we're talking about building quiet confidence: knowing exactly where things will be when you need them. After all, you don’t want your brain constantly juggling and re-juggling information, or anxiously rehearsing things it might forget.
The problem today isn't a lack of information. In fact, it’s just the opposite: having too much, scattered everywhere, trusted nowhere. Becoming organized with our information requires simplicity and consistency.
Learn more about organizing your information below👇
13. One task app + one calendar + a “Second Brain” notes hub
We know better than anyone just how many different productivity tools are out there. To be clear, getting organized does not require using countless tools. In fact, less is more here. But with that said, there are a few types of tools you can use to better organize your digital life. Here, we’re thinking:
14. Inbox rules that actually run
Your inbox shouldn't be calling the shots. Set clear filters to do the sorting, and treat checking email like running scheduled errands, not an always-open store. Research shows that people who check email just a few times a day report lower stress and better focus compared to those who always dip into their inbox.
15. A simple 3-layer file tree
If every folder has its own special naming convention, you’ll waste valuable time just trying to find stuff. Save future-you some headaches: choose a simple, predictable file structure (Area → Project → Artifact) so files practically organize themselves.
16. Paperless by default + date-based names
Paper piles quickly turn into digital piles, unless you give them clear rules. The easiest solution is to go paperless by default: scan everything once, file important documents immediately, and use predictable filenames so everything sorts itself.
Experts agree that clear, consistent naming (especially using dates) makes files instantly searchable, eliminates duplicates, and keeps your folders tidy.
Tips 17-24: how to organize your workflow 🔁
We've all experienced workdays that feel chaotic. Tasks streaming in from every direction, emails stacking up, meetings that lead nowhere. It's exhausting, but the worst part isn't even the busywork. It's the constant hum of uncertainty, the feeling that nothing is truly moving forward.
Organizing your work involves reliably moving from start to finish. A highly organized workflow means working with fewer interruptions, fewer surprises, and fewer questions about "who's responsible for this?" or "what was decided?"
Learn more about organizing your workflow below 👇
17. Centralize work intake
Scattered requests are one of the fastest ways to feel overwhelmed. A teammate pings you on Slack, you receive unexpected phone calls, a client emails, your manager drops a task in a meeting, and suddenly your attention is fragmented across half a dozen channels.
Give every request one clear entry point. This doesn’t require fancy software. It can be as simple as a dedicated inbox in your task app, a form everyone submits through, or even one Slack channel for new requests. Every request flows to the same spot, and you check it on a reliable cadence. That way, your brain doesn’t have to remember where work came from, only where to look next.
18. Batch shallow work with set windows
Shallow work (things like email, Slack, quick approvals) chews up your day one small task at a time. When it’s always open, your focus keeps getting bumped. But batching your shallow work tasks gives you the boundaries you need to stay focused during deep work. We recommend setting up a couple of short windows during your day where you sweep messages, make decisions, and move on. Same volume, fewer interruptions, way less mental whiplash.
You can think of task batching as being very similar to running errands. You don’t run to the store for just one thing every hour. No, you go once per week (or per day, if you have more of a Parisian flair), and buy everything you need. You should do the same with your tasks. That way, your focus blocks stay intact, and you stop feeling “always on.”
19. Use a visual status board
Trying to keep all your tasks in your head is a quick recipe for stress and overwhelm. Get them out of your brain and onto a simple, visual board organized into three columns: To-Do, Doing, and Done. Limit your Doing column to just 2–3 tasks at a time. This forces you to actually finish things before moving on. Each Friday, quickly review your Done column, capture any insights, celebrate your wins, and set next week's priorities.
This method comes from Kanban, a system designed to improve throughput by reducing bottlenecks. The beauty is in its simplicity. Limiting the number of tasks "in progress" reduces mental juggling and actually increases how much you accomplish.
20. Set WIP limits
Nevertheless, a common trap with task boards is letting the “Doing” column balloon with half-started work. It feels like progress, but in reality, juggling too much slows everything down. To prevent this, you should be setting Work-in-Progress limits. Capping the number of tasks in “Doing” to just two or three will create gentle pressure to finish before starting anything new.
Becoming more organized in your work doesn’t involve managing ten half-done tasks. It’s much better to focus on the two that matter now. Once one clears, you earn the right to pull in another.
21. Standardize your meeting notes
Too often, the decisions and action items of a meeting vanish into chat threads or vague memories of “what we said.” A simple, repeatable notes template is a great way to organize everything discussed and decided during a meeting.
Experts agree that clear and consistent meeting notes dramatically improve follow-through. Standardization also makes sharing effortless. Teammates know where to look, what to scan, and how to follow up. Over time, this habit builds an archive of decisions that becomes a reliable resource going forward.
22. Keep a lightweight decision log
Good teams often forget why they made certain choices just as quickly as they finish what they’re doing. Months later, someone asks, “Why did we go with that vendor?” or “Didn’t we already debate this?” and the cycle repeats. A simple decision log (often called Architecture Decision Records or ADRs) captures the context and reasoning behind key decisions.
This doesn’t have to be heavy. A few sentences are enough: the situation, the choice, the consequences, and the current status. Linked to relevant docs or tasks, it becomes a living history that keeps everyone aligned.
23. Use standard operating procedures (SOPs)
Standard operating procedures (SOPs) turn recurring tasks (like onboarding a new hire, publishing a blog post, or closing the books) into simple checklists that anyone can follow. They reduce errors and free up mental bandwidth for the work that actually changes week to week.
Of course, SOPs are living documents. Each run is a chance to refine them. The clearer they are, the more they protect against dropped steps and knowledge silos. When the system holds the memory, you don’t have to. For larger efforts, sketch a one-page project plan with goals, milestones, and owners.
24. Run a regular retrospective
Over weeks and months, life shifts: spaces fill, schedules drift, tools pile up, workflows fray. A light retrospective catches those shifts before they snowball. Sometimes all you need is a brief pause to ask what’s working, what’s dragging, and what to try next to keep every pillar (space, time, information, and workflow) aligned with the life you’re actually living now.
A short monthly check-in or quarterly review is enough to surface insights and reset small habits. When you make a reflection routine, improvements become continuous rather than crisis-driven.
Simple systems for an organized life 🗂️
Order shows up in small ways first: a clear counter, a protected hour, a file you can find, a task that moves. Stack those wins in your own way. Keep the loops light and regular. With the four pillars in place (space, time, information, workflow) your week starts meeting you halfway. More ease, fewer decisions, steady momentum.
And when the week gets busy, a smart assistant like Reclaim.ai can quietly hold those routines in place: reshuffling focus blocks, keeping priorities visible, and making sure the habits you’ve set don’t slip through the cracks.


.png)
